Showing posts with label Baking. Show all posts

Wednesday, September 21, 2011

Cheese Swiss Roll

Hi there! I haven't been updating my blog for a while.
I've been busy of my assignment, oh gosh! it makes me sick when i heard assignment.
Anyway, lately i've been craving for swiss roll, especially the one which is from my country, the most famous & well know which called Bolu Meranti (the name of the brand). Their swiss roll have different flavor & the one that i like the most is the cheese flavor.
So yesterday i went down to the kitchen & i baked it.
What really surprise me is that it's actually a very easy cake to make, i never imagine that it's that easy!!
I brought some to Uni today & give it to my friends, they love it!! XD


Cheese Swiss Roll


Sponge recipe :
100gr plain flour
1/4 teaspoon baking powder
4 eggs
110gr caster sugar
50gr unsalted butter, melted

Butter cream recipe :
200gr unsalted butter
100gr icing sugar
Grated cheddar cheese


Method (sponge cake) :

  • Preheat oven to 180C
  • Sift the flour and baking powder 3-4 times
  • Place egg and sugar in a mixing bowl, mix with electrical mixer on high speed until triple in volume, pale, thick and fluffy. It will takes more than 5 minutes, just be patient :)
  • Sift flour 1/3 a times over the egg and sugar mixture, gently fold in the flour using a spatula
  • Fold through the melted butter
  • Grease the baking tray with non-stick baking paper
  • Pour in the mixture, make sure that the mixture reached every 4 corner of the tray, you can also use a spatula to make the surface even
  • Bake for 10 minutes or until the surface is golden brown or comes away from the sides of the tray
  • Lift up from the baking tray
  • Flop the cake upside down, using another baking paper as the base, then remove the cake from the baking paper (the one that the cake stick on)
  • Cover the cake with a tray to prevent the cake from drying
Method (Butter cream) :
  • Place butter and sugar in a mixing bowl
  • Mix with high speed using an electrical mixer until pale and creamy
Method (assembling the cake) :
  • Put the golden brown skins of the cake as the base
  • Spread the cream & grated cheese as desired
  • Slowly roll the cake ( I recommended you to watch the video of how they roll they cake before you roll it yourself, it will helps a lot! )

Tuesday, August 16, 2011

Egg Tart for Fundraising


I've been so excited about this last week, have been thinking about this!
Well, here's the story..
Last 2 weeks which was on Sunday morning, i was having my breakfast with my sister. I suddenly-randomly asked here about ministry in church. I said that I wanna involved myself for the church.

Then she started to state the ministry one by one, she then came up with fundraising. I remembered she said "oh! do you wanna join my fundraising ministry? actually the family team is going to do the fundraising, but none of them are available for next week fundraising. How if you do the fundraising for next week?".

Of course I replied YES, i want! not because of what, but because of I am very interested on baking stuff.
Both of us then busy of thinking what I'm going to make for the fundraising, and in the end, we end up with Cantonese Egg Tart for the fundraising.


I've baked this before that's why i was quite confident. I was then quickly search for the recipe, from the blog that I followed and also the same recipe that i used before.

Decision was reached, Next Fundraising : Egg Tart


So this was last 2 week story, it means that I've made the egg tart & the fundraising has passed.
I woke up on 7.30am last saturday and started to bake at 8am. Btw, i had 110 order!!


I couldn't slept well the night before because I was too excited & i was kind of afraid that I won't finished it on time, because i was working on saturday night. But indeed! I managed to finished all of them by 3pm. I was so happy even though I almost can feel my right arm. hahaha :D

Here's the recipe which i adopted from Christine's Recipe, she is a great cook!!


Cantonese Egg Tart


 i use cupcakes tin to bake :p


Ingredient of crust :
225g plain flour, sifted
125g unsalted butter
55g icing sugar
1 egg, whisked
a dash of vanilla extract
unsalted butter (for greasing)

Ingredient of custard :
3 eggs
110g caster sugar
225g hot water
85gr evaporated milk
1/2tsp vanilla extract (optional)

Method (crust) :

  • Place butter at room temperature until softened. Place butter and sugar in a mixing bowl, beat on medium speed with electrical mixer until creamy, light in color and fluffy
  • add in whisked egg, half at a time, and beat with low speed
  • add vanilla extract and mix well
  • add in flour, half a time and knead into dough. make sure all ingredient combine well
  • lightly grease tart tin with butter
  • roll dough to 1/2 cm thick, line into the tin, lightly press the dough with your thumbs at the same time turn the tin clockwise to make an even tart shell.


Method (custard) :

  • add sugar into hot water, mix until completely dissolved
  • add eggs and evaporated milk in a mixing bowl, whisked until well combined
  • add in sugar water, mix well
  • sift egg mixture into a pot to get rid of the foam
  • pour in the egg mixture to each tart shell


Method (baking tarts) :

  • preheat oven to 200C (fan force)
  • bake tart in the second lower rack for 10-15minutes or until the edges are slightly brown 
  • move tart to the middle rack, bake for another 10-15 minutes
  • in this state, keep eye on the custard, when the custard is slightly puff up, pull open the oven door about 4-5cm to prevent the custard from puffing up.
  • bake until the custard is cooked ( insert a toothpick in the middle of the custard, if the toothpick stands on its own, then it's cook)


Tips :)

  • try not to under cooked the tart or it won't be crispy.
  • I place the tin on the second lower rack at first to cook the tart shell, so that it won't over cooked the edge of the shell and the custard or you will have burn looking edge of the shell.
  • prevent the custard from puffing up too high because it will sink when its cooled down.
  • I don't put vanilla extract on the custard because it will give an artificial taste on the custard, but it's optional if you want to put it.
 Happy Baking and Good Luck XD!!

Friday, August 5, 2011

Chocolate macaroon tart


As what i've said from my last post, i'll post about baking on my next post. And here it is, I baked Chocolate macaroon tart yesterday. I suddenly have the urge to bake yesterday, so I opened my Donna Hay's chocolate essentials book & end up decided to bake this macaroon tart.

Actually the original recipe is Raspberry macaroon tart, but I don't put the raspberry.
Anyway, I'll share you the recipe which adopted from Donna Hay :)


Raspberry macaroon tarts


Tart:
3 egg white
165ml sugar (I used white sugar)
3 cups (225g) desiccated coconut


Chocolate filling:
2 eggs
125ml cream
125g dark chocolate, chopped
2 tablespoons caster sugar
2 tablespoons self-raising flour, sifted

Method :

  • Preheat the oven to 140C (280F)
  • Combine egg whites, sugar and coconut in a mixing bowl to make the macaroon tarts
  • Grease 2 x 5 cm tart tins and with removable bases
  • Press over firmly over the base and the sides
  • Bake for 20-25 minutes or until the macaroon shells are firm 
  • To make the filling, place cream and chocolate in a saucepan over low heat and stir until smooth, put aside
  • Place eggs and sugar in a bowl with electric mixer and beat with high speed until light and creamy
  • Fold in flour
  • Fold in the chocolate mixture
  • Spoon the mixture into macaroon shells, bake for 20-25 minutes or until the filling is just firm
  • Cool in the tins
  • Serve 15 
I actually make two recipe of the chocolate filling and end up with a lot of them left, so I just pour them into the mini cupcakes tin & bake them.
They turn out like mini sponge cake :)

Thursday, December 2, 2010

Nastar ( Cookies with pineapple filling )


Finally i made this Indonesian cookies, which we always have during Chinese New Year.
so for Chinese in Indonesia, we of course celebrate Chinese New Year, before the Chinese New Year, we prepare various cookies, some of them which are popular is this Nastar. i got the recipe from my friend, she has ever made this cookies for me & it was really good, so that i asked her the recipe. hehe
This is the first time i cut a pineapple, it's so hard remembering how i always see my aunt cut pineapple for us to eat, it seems to easy but actually it's not.

Ingredients :

Dough :
- Butter 275gr
- Caster Sugar 80gr
- 4 eggs yolk
- Plain flour 450gr

Filling :
- 1 Pineapple
- Sugar 225gr

Egg wash :
- 2 eggs yolk
- 1 eggs white

Methods :

Filling :
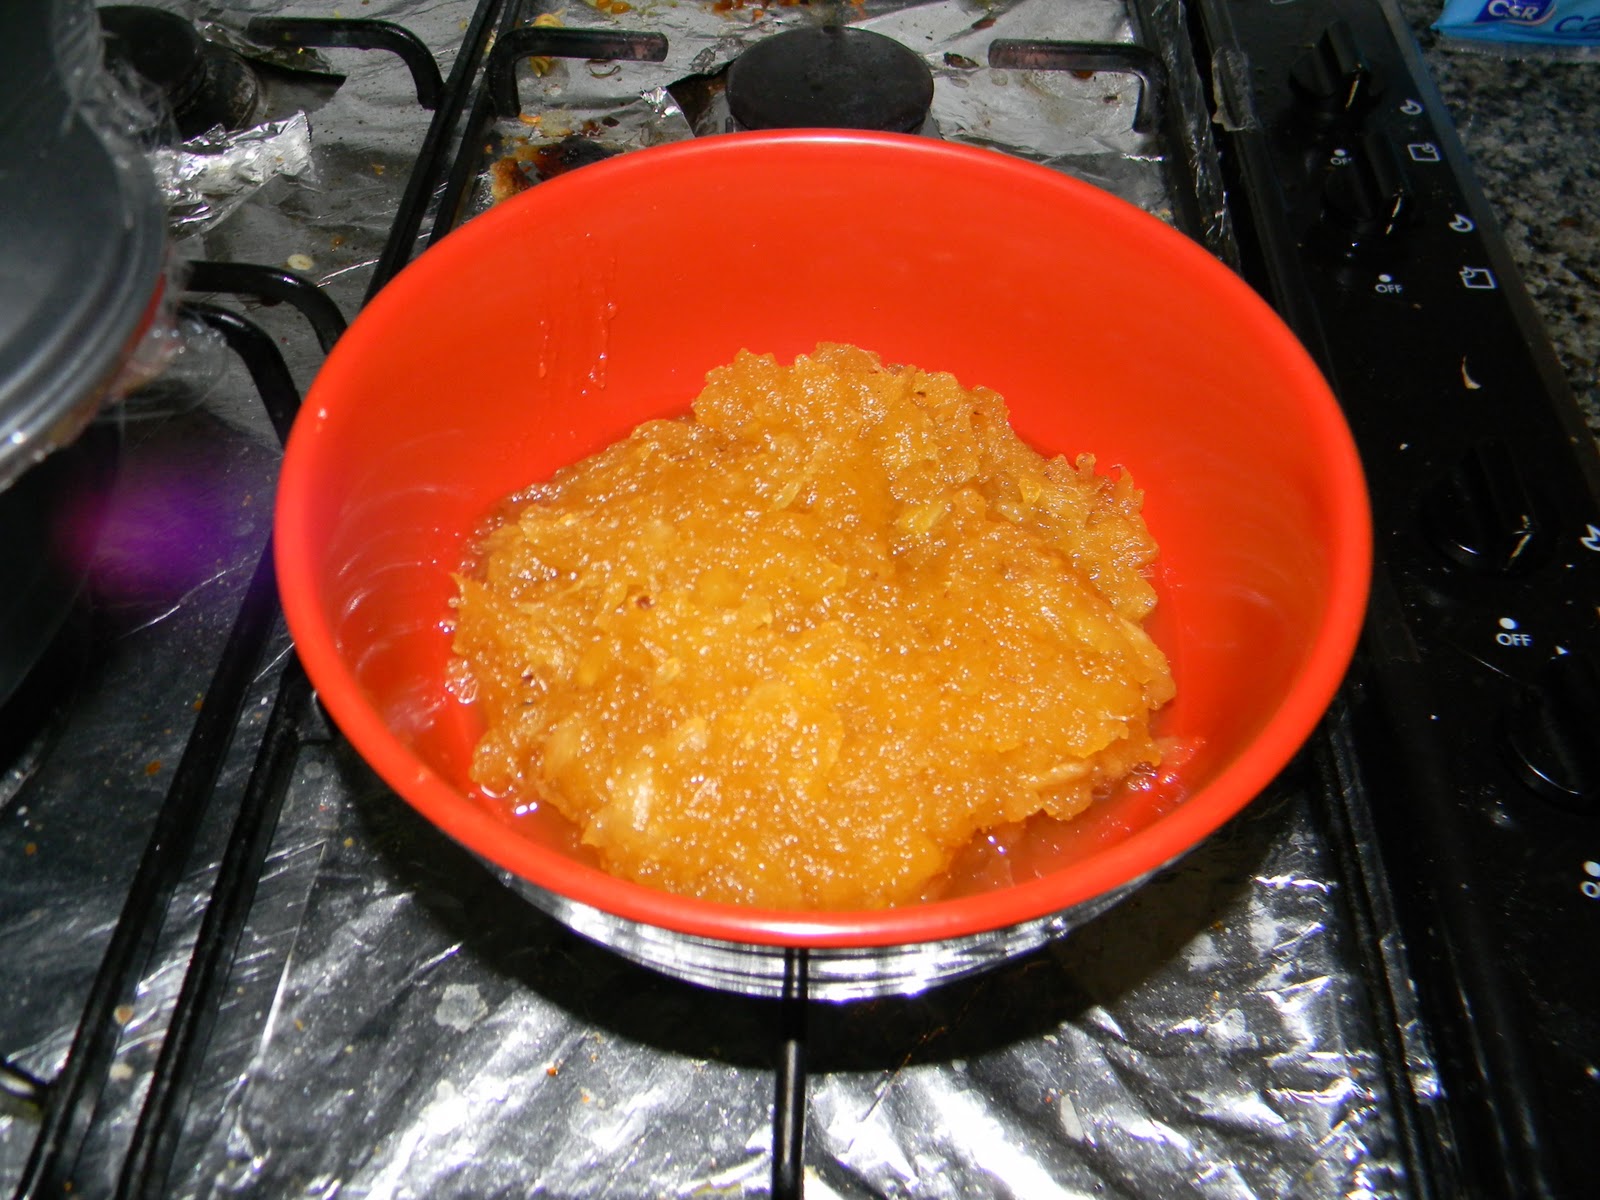
1. Shred or mash the pineapple & put into a medium pot. put in the sugar & cook until caramel color & quite dry.


2. transfer into a bowl, cover with plastic wrap & put into the fridge.


Dough :
1. Put butter & caster sugar into the mixing bowl, mix with electrical mixer in slow speed, put in egg yolk one by one. mix well.
2. at last put in the flour in 4 times, mix in fast speed.

3. Put in a bowl, cover with the plastic wrap & put in the fridge.

4. Let inside the fridge for about 1 hour, take out & start to make the shape & fill the pineapple.
5. Grease the baking tray with the grease paper.


6. Pre-heat over 180C, bake for 10 minutes, take out & brush the egg wash, bake again for another 10-15 minutes or until the tops turn nicely golden brown.


Tips :
- Don't take all the dough out from the fridge while you are going to shape it, take a few which enough to make 8-10. this is to prevent the dough become dry.

Monday, November 29, 2010

Milo Chiffon Cake


Last few days i suddenly missed a cake which called Bolu but Chiffon in English.
Yes, i missed Chiffon, it's taste, the spongy feeling when you bite it, everything!! well,remembering this cake make me remember of my home.
Just don't realized that it's almost one year i was apart from my parents & my family.
EEEits, enough of the emo things. this post is about Chiffon, not the missing things.. hehe
Well, because i feel like eating chiffon cake, so i just search for it's recipe & try it in our kitchen this morning.
It's quite easy to make, so..
Preparation time : <30 minutes
Baking time : <30 minutes

Ingredients :
Part 1:
1 1/2 tbsp Milo powder
20ml hot water
2 egg yolks
20gr caster sugar
20ml olive oil
40gr self-raising flour

Part 2:
2 egg whites
1/4 tbsp cream of tart
50gr caster sugar

you also need a 16cm Chiffon pan

Method :
1. Pre-heat oven at 170C
2. Stir Milo powder with hot water until dissolved, set aside.
3. Sieve flour & set aside.
4. Separate egg yolks & egg white, set aside & bring to room temperature
5. Whisk egg yolks & sugar until sugar dissolved & well combined.
6. Add in Milo mixture & oil.
7. Whisk until combined. sieve the flour in & gently fold the flour with spatula until well combined.

8. Whisk egg whites & cream of tartar in a mixing bowl with an electrical mixer in medium speed, mix until frothy & foamy.

9. Then add in sugar in 3 separate addition while beating with high speed. beat until stiff peak form.

10. Add in egg white foam into the egg yolks mixture in 3 separate additions, each time gently fold with spatula until blended.

11. Polish Chiffon pan with butter to prevent cake from sticking on the pan.
12. Pour the mixture into a 16cm ( 6 inch ) Chiffon pan. 
( actually my pan is too big, hehe )
13. Bake for 25-30minutes or until the cake surface is golden brown & skewer inserted into the centre comes out clean.
14. Remove from oven, immediately put the pan upside down.
15. Let cool completely then carefully remove the cake from the pan.


The shape of my cake is not really nice because i didn't polish any butter on the plan, so don't forget or you cake will end up like mine. haha
My recipe is quite different from the original recipe because i think i need more Milo taste on the cake & i think the cake needs more eggs.
I remembered that someone had ever told me that the good Chiffon cake needs a lot of eggs.
So for the conclusion, i think that i'll search another recipe & try again next time. But this cake taste good as well. Enjoy :)


Monday, November 15, 2010

Profiteroles


I'm going to post about baking this time.
I've planed to bake profiteroles & since yesterday i've no shift,so i just stayed at home & baked profiteroles. actually i've ever baked profiteroles but i usually buy the cake mix & just bake it automatically, but this time i wanna try the manual baking process.
it's not really hard remembering some people said that their dough is not puffing, but luckily mine is puffing & turned out good :)
of course i'll share the recipe.
so here you go...

Ingredients

Chox pastry (dough):
- 60g butter
- 180ml water
- 105g plain flour
- 3 eggs

Creme patissiere (filling):
- 3 egg yolks
- 2/3 cup caster sugar
- 1tsp vanilla extract
- 1tsp cornflour
- 1 1/2 tsp plain flour
- 2 cups milk

Chocolate sauce:
- 250g melting chocolate

Method
1. Filling. Firstly we start with the filling. Whisk egg yolks, sugar & vanilla in a bowl, & stir in the cornflour & plain flour.
2. Add milk, 1/4 cups at a time, stirring well after each addition.
3. Transfer to a saucepan & cook, stirring constantly, in a medium heat until boil. Stir another 1 minutes after boiled.

4. Pour custard into a bowl & cover the surface with the baking paper.
5. Allow to cool.
Tips : don't worry of the custard is not really thick at first but after you let it cool for awhile, it will become thicker.
6. Choux pastry (dough). fill you butter & water into a saucepan in a low heat & let the butter melt. you will see a yellowy slick cloud on top of the hot water.
7. Toss flour in & beat with a wooden spoon, keep going until the mix has come away from the side of the pot, looking uniform in color & texture.

8. Toss all into a  electric mixer, put in 3 eggs  & mix until well combined. So here you have finished with the dough, it's easy & simple is it??
9. Next up, line your baking tray with the baking paper or aluminium foil & pre-heat you oven to 200C. (you can also start to pre-heat you oven when you start making you dough)
10. Spoon your glossy, yellow, uniform dough into a piping bag & pipe out onto your lined tray. pipe out about 4-5cm in diameter & leave some space between them because they are going to puff. use a wet finger to cut them off when it's hard to pull the piping bag away. you should have about 30 doughs.
Tips : if you don't have a piping bag, you can also spoon dough into the tray but make sure there's no hole on the dough.

11. bake them in the oven for 5 minutes the reduce the heat to 180C & bake for another 15 minutes, remove from the oven. you'll see a lovely golden puffs!
Tips : Avoid taking out the tray before the time because once you pulled out the tray, the puffing dough will cease to puff & won't continue to puff when you put it back.

12. Let them cool until they're touch-able. carefully lift them off the liner before leaving them to cool completely.
Tips : if you are using baking paper & the puffs stick on it, sprinkle some water under the paper & leave them in the still-warm oven for a couple of minutes. They'll lift right off after that.


13. Poke a hole in the bottom of each puff, spoon your thick custard into a piping bag & pipe in the custard into each puffs. this steps will be messy :p

14. After you finished with the piping, melt your chocolate & spoon it on top of your puffs as desired.


Now you have finished each steps that you need to do.
So enjoy you puffs :D

Monday, November 8, 2010

Churros


I've done my last test and as what i said from my previous post, i'll do some baking once i'm free.
So yesterday i just made Churros, i got the recipe from my sister friend.
Actually it's not difficult to make,it's simple..

Ingredients:
<Churros dough>
- milk, 250ml
- sugar, 20gr
- butter, 100gr
- plain flour, 125gr
- egg, 2
- egg yolk, 2

<Chocolate sauce, optional>
- fresh cream, 200ml
- milk, 100ml
- dark chocolate, 200gr

Method:
<Churro dough>
- put milk, butter & sugar in a pot & bring to boil
- Sieve the flour into the boiling water & mix until it forms a dough, cool down
- mix the eggs & eggs yolk to the dough until combined
- pipe the dough using piping bag & a star tube onto the hot oil until gold brown.
- dust in icing sugar & cinnamon mixture (optional)

<Chocolate sauce>
- warm the milk & cream
- add in chocolates & stir until silky & smooth
- add liquor if desired


Tips:
- make sure that the oil is not too hot, just warm because the dough can easily burn if the oil is too hot.
- don't use skim milk as the one that i used because it will taste less sweet.